Each year, my family rings in the holiday season with a massive sugar cookie baking and decorating party. We cut cookies out of a rolled-out slab of dough, bake them, frost them, and then go absolutely hog wild covering them in sprinkles until they’re bordering on the edge of inedible. This year, I had an idea: What if I do that exact same general thing, except I make some race car Christmas tree ornaments instead? And what if, perhaps, I taught you all how to do it? ‘Tis the season for crafting, after all!
Your list of supplies is pretty simple. You’ll need:
- Race-car shaped cookie cutters
- Quick-baking modeling clay that you can set in the oven (I used Sculpey original oven-bake clay)
- Acrylic paint OR spray paint
- Paint brushes
- A rolling pin, wine bottle, or some other implement for rolling out the clay
- A baking sheet or two
- String, yarn, or hooks
I also recommend perhaps laying some parchment paper or a silicon mat on the surface you’ll use to roll out your dough, just to make things easier.
You’ll want to start by kneading your clay until it gets a little pliable, then kinda-sorta flatten it out into a disc. I popped all my discs of clay next to each other, then rolled it all out into one big slab that was about 1/4-inch thick.
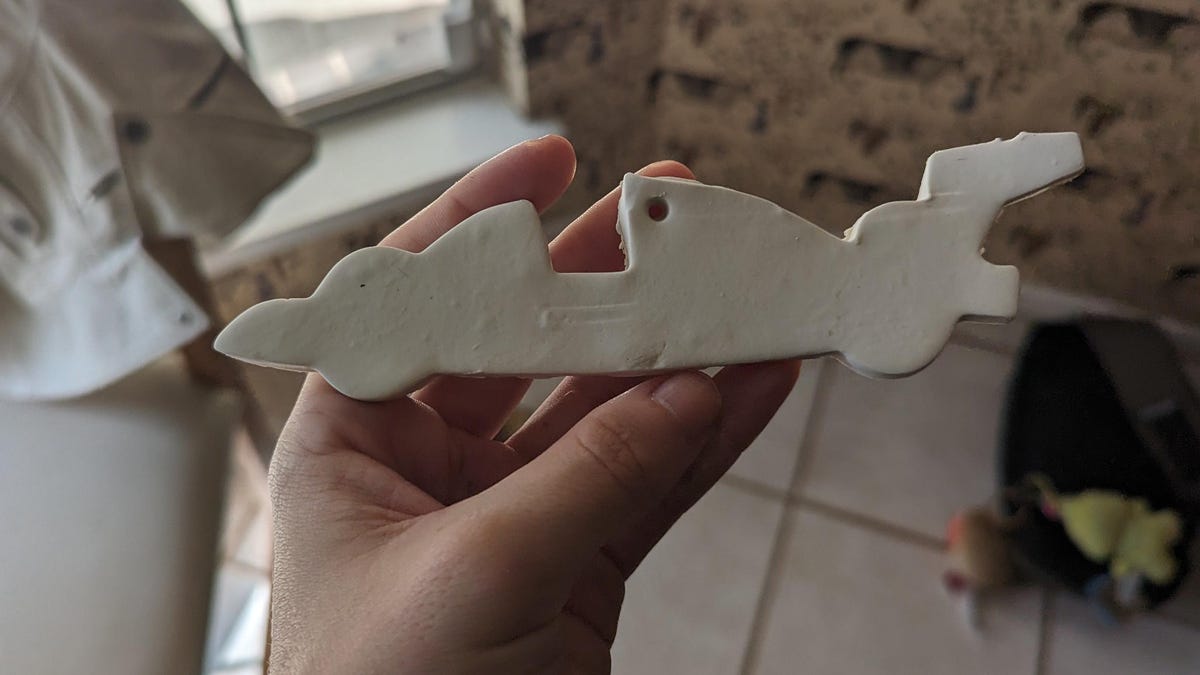
After that, start cutting out your shapes! Obviously this whole post is about race cars, but I also made up some classic “little red truck carrying a tree” ornaments, some festive ones for my family, and some cat paw print indentations. Before you bake, poke a hole somewhere in your ornament; that’s where you’ll need to tie some string to make sure you can actually hang the damn thing on the tree.
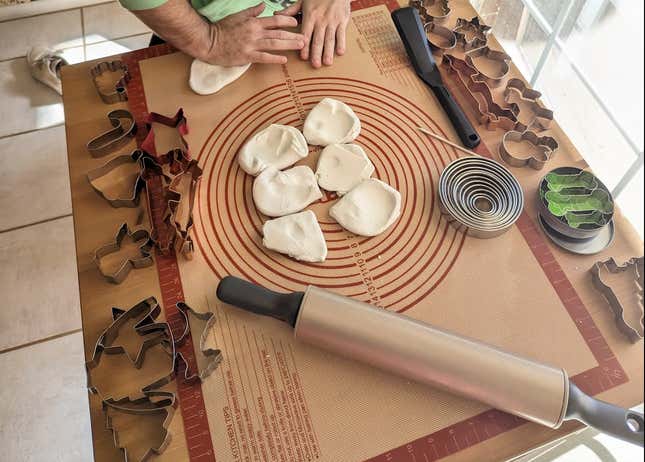
Then, bake up your ornaments! Depending on the clay you use, your instructions may differ, but mine required me to bake my clay for 15 minutes at 275 degrees. When they’re baked, they’ll still be a little soft but will harden up as they cool. Let them cool completely before painting.
I haven’t painted mine just yet, since we have a family painting party coming up this weekend. However, I have a massive pack of acrylic paints and some cheap brushes to make magic. If you go that route, you might also want to give the ornament a good clear coat with spray paint, just to keep everything in place. Or, if you’re looking for a slightly less tedious paint process, just hit these bad boys with a rattle can paint job.
I’m a grown-ass woman, but I still love a good race-car themed craft. If any of you spend your holidays making some race-car shaped ornaments, send them my way in the comments. I’d love to see what y’all get up to!